Products Description
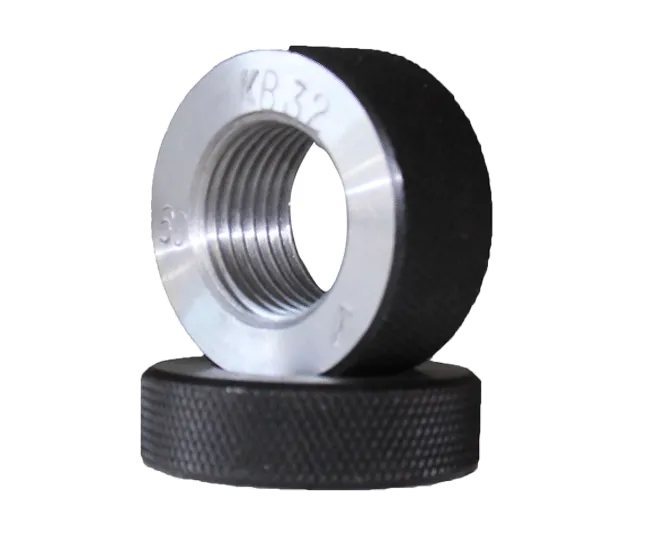
1. Ring Gauge
- Definition: An annular measuring tool used to inspect external dimensions (such as shaft diameter, outer diameter) of shaft-like and cylindrical workpieces. It is a key component of precision measuring tools. Its core function is to quickly determine whether the external dimensions of a workpiece are within the specified tolerance range, without reading specific values, but only through the "go" and "no-go" states.
- Structural Features: Usually in a ring-shaped structure, with an inner hole size precisely machined to match the nominal size and tolerance of the workpiece being inspected. Depending on testing requirements, ring gauges can be divided into go ring gauges and no-go ring gauges, which are used in combination to complete the full inspection of workpieces.
- Application Scenarios: Widely used in mechanical manufacturing, auto parts production, bearing processing, etc., to inspect whether the outer diameter of bolts, pins, and shaft parts meets standards.
2. Go Ring Gauge
- Definition: The "go end" of the ring gauge, whose inner diameter is equal to the maximum material condition (MMC) of the inspected workpiece (i.e., the maximum allowable size of the workpiece).
- Working Principle: During inspection, if the inspected workpiece can pass through the go ring gauge smoothly (i.e., the go ring gauge can be fully slipped over the workpiece), it indicates that the actual size of the workpiece does not exceed the maximum allowable value, meeting the lower limit requirement.
- Core Function: Ensures that the workpiece size is not too large to be assembled into matching components (e.g., a shaft cannot be inserted into a bearing inner ring).
3. No-Go Ring Gauge
- Definition: The "no-go end" of the ring gauge, whose inner diameter is equal to the least material condition (LMC) of the inspected workpiece (i.e., the minimum allowable size of the workpiece).
- Working Principle: During inspection, if the inspected workpiece cannot pass through the no-go ring gauge (i.e., the no-go ring gauge cannot be slipped over the workpiece), it indicates that the actual size of the workpiece is not smaller than the minimum allowable value, meeting the upper limit requirement.
- Core Function: Prevents the workpiece size from being too small, leading to loose fits (e.g., excessive clearance between a shaft and a hole, affecting transmission accuracy).


